

Maybe you're new to hiking and looking for your first backpack, or your 20-year-old pack is falling apart and no longer usable. You’ve probably been searching online for packs or asking for friends' opinions, and everyone says something different. Finding a new backpack can feel like an overwhelming decision. What brand do I choose? What is the right size? How do I find a pack that fits me and my needs?
In this article, we are going to dive into your biggest questions about finding the perfect pack.
Why Backpack Fit Matters More Than Brand
Buying the proper backpack is just as important as buying the proper shoes. A poorly fitting backpack can cause hip, neck, and back pain and put a damper on your hike. To ensure you get the right pack and fit, I highly recommend going to an outdoor gear store, such as REI or another specialty retailer. These stores have employees specially trained in pack fitting and will help you to find the right pack for your body and needs. If you do not live near an outdoor gear store, don’t worry! I am going to walk you through the steps to help you find the perfect pack.
Step 1: Measure Your Torso Length Before You Buy
I have had many people ask if they can just borrow a pack from a friend or their spouse. This often does not work for hiking packs. Hiking backpacks are made to fit your torso length. Your torso length is measured from your C7 vertebrae down to your Iliac crest. Your C7 vertebra is the vertebra that protrudes the most when you tilt your head forward and down (try tilting your head down and feeling the back of your neck for the largest vertebra).
Your Iliac crest is the bony protrusion that aligns with the highest point on the pelvis, the hipbone. You can find this protrusion by placing the palms of your hands flat on the sides of your waist, roughly in line with your belly button. If you feel around the area, you will find the highest point of the hip bone. This is your iliac crest and your second point of measurement.
If you are in a store, one of the first things they will do is measure your torso length with a tape measure. But if you don’t live near an outdoor store, you can grab a friend or family member to measure you at home instead.
Step 2: Choose the Right Backpack Size (20L, 25L or 30L)
Next in the process is choosing the correct pack volume. For most AGC trips, we will use day packs. Most day packs are in the 20-30-liter range. Packs are measured by volume because it gives us a better idea of how much we can fit in the pack than the pack's dimensions.
Now that you have measured your torso length and know how many liters you need in a pack, you can begin trying on backpacks. Although many packs look alike, they may fit very differently, so I recommend trying on multiple brands in your torso length.
Step 3: How to Properly Try On a Hiking Backpack
Once you have picked a few different packs to try on, we will begin the process. Before putting on a backpack, unbuckle all the clasps and loosen the straps. Next, fill the pack with 10-15 pounds of weight. It is very important to load the pack before trying it on. Packs sit very differently on our bodies with weight in them, and will give us an idea of how the pack would actually feel on the trail.
If you are trying on a backpack at a gear store, they usually have a dedicated area with pack weights. If you are at home, try packing a few pairs of clothes and a filled water bottle to get a sense of how it will feel on the trail.

How to Put On a Hiking Backpack Correctly
Start by picking up your pack correctly
Now that your backpack is fully packed and your straps and buckles are loosened, we will pick it up. This seems pretty straightforward but is a very important step. When picking up a pack, I see many people pick it up by the shoulder straps. However, shoulder straps are not designed to bear the weight of the entire pack, which increases the risk of damaging the comfortable padding in the shoulder straps or tearing them completely off.
When picking up your pack, use one hand to grab the durable fabric loop at the top of the pack, above the shoulder straps. This is known as the haul loop and is meant to withstand repeated wear and tear. Next, bend one of your knees slightly forward until the heel is off the ground and just your toes are touching. This will create a landing place for your pack. Using the haul loop, lift the pack so it sits on your thigh just above your knee. Next, bend forward to put your arm through the first strap, then the second, until the pack is sitting on your back. Stand up straight.
Adjust the Hip Belt First
Once the pack is on your back, we can begin the process of getting everything buckled and tightened. The first step is the hipbelt. Situate your hip belt so that the top portion sits about 1 inch above your Iliac crest. For many people, the buckle should be just below the belly button.
If it is not sitting in the right place, you can tighten or loosen the shoulder straps to ensure it sits properly before buckling it. Once the waist buckle is clipped, make sure it sits at the center of your stomach. If you are using a padded hip belt, make sure the padding extends slightly past your hip bones and that you have about one inch of clearance from the padding on each side of the buckle.

Adjust the Shoulder Straps
The next step is to adjust the shoulder straps. Pull down on the ends of the shoulder straps at your sides until the padding of the straps sits flush against the tops and backs of your shoulders. But don’t pull the straps too tight! If you feel the backpack coming off your hips, loosen the shoulder straps and readjust them. Making the shoulder straps too tight will also pull on the front of your shoulders and can be uncomfortable.
Fine-Tune the Load Lifters
The next step is to adjust the load lifter straps. These straps are located at the top of the pack, where the body of the backpack meets the shoulder straps. Tighten these until you feel the pack's weight is not pulling you forward or backward. It is important to tighten these straps enough to pull weight toward your center of gravity for stability, but not so much that they put excessive tension on your shoulders. If it hurts your collarbones, the load lifters are probably too tight. A properly fitted backpack will carry 70% of the weight on your hipbelt and 30% on your shoulder straps.
Secure the Sternum Strap
The last step to securing your pack is clipping the sternum strap. The sternum strap should clip directly above your heart and be tight enough to provide stability, but not so tight that it distorts the shape of the shoulder straps or limits your range of motion. Many sternum straps are movable, and it may take some adjusting to find what is most comfortable for you.

How to Tell if Your Backpack Fits Properly
You have now completed all the steps and have your pack on. Let’s go find a mirror and stand sideways. There are a few cues to look for in a properly fitted backpack. The first is that there should be no space between the back of your pack and your back. If you see a gap or can slide your hand between your back and the pack, then this pack is not well-fitted. Please revisit the previous steps if you don’t believe the pack is well-fitted.
The next step is to check the straps. Properly fitted straps will sit flush with your shoulders and back and will not look like they are trying to lift off the tops of your shoulders. If either of these things do not look correct, try loosening the straps and hipbelt to get a better fit. If this is still not corrected, then begin the process again with another pack. You will know you have a good fit if the pack sits evenly across your back, the straps sit flush on your shoulders, and they do not lift.
Walk Before You Buy
Congratulations, you have a well-fitted pack! The next step is to ask yourself how it feels. Walk around in the pack for 10 minutes. Take a walk around your home or the store and see how it feels to move in it. If shopping in a store, I recommend continuing to shop while wearing the pack. Does the weight feel like it's sitting comfortably? Do the straps feel comfortable or pinch anywhere? If walking around in the pack is uncomfortable, you may need to try another pack. If the pack feels fairly comfortable and nothing bothers you, then you are ready to go. This may take a few minutes if you’re not used to wearing a backpack.

Test Your Backpack Before Your Adventure
You bought your pack and brought it home. It fits great in the store, and you feel ready to go on your trip with AGC. But remember when we talked about how important it is to make sure shoes and backpacks fit well? We need to make sure that the pack that felt comfortable in the store for 10 minutes still feels great after our 5-hour hike.
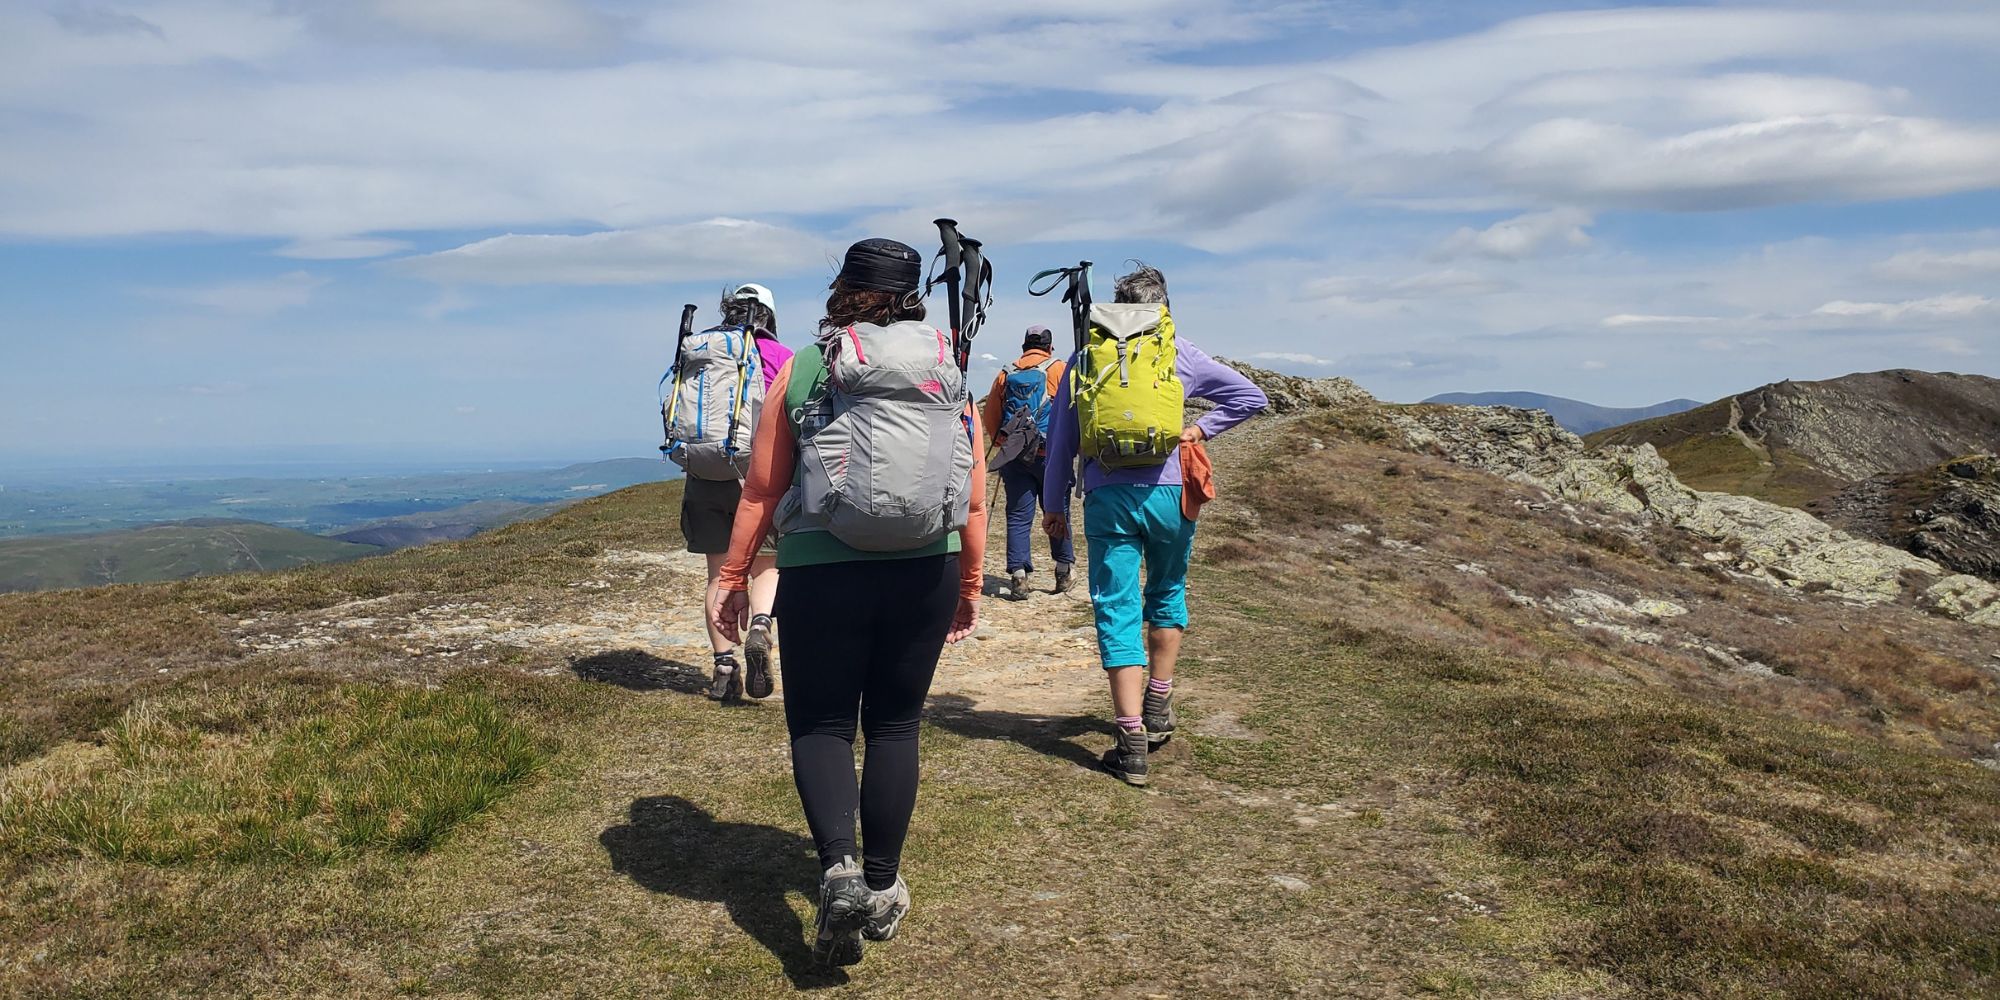
Here's the really fun part: take your brand new backpack out hiking! Pull out your AGC packing list and test it out with all the gear you plan to bring on day hikes. This is also a great opportunity to take stock of the gear you have and what you might still need before your adventure begins. Does the hip belt carry well when hiking? Do the shoulder straps sit comfortably and not dig in after a few miles? Can it fit all your gear in a way that is comfortable to carry and provides the accessibility you need while on the trail? We want to make sure this pack really works for you and your body.
If your pack feels great after a few hikes, then congratulations, you have found your new pack! But if it wasn’t a perfect fit after a few uses, you still have options. Many retailers allow you to return gently used gear if it doesn’t work for you. This gives you the opportunity to find the pack that fits you and your needs perfectly. A hiking pack is one of the most important tools on the trail and should fit comfortably so you can enjoy your adventure to the fullest.
I hope you found this article helpful, and remember to reach out to your AGC Adventure Specialists if you have any questions! See you on the trail!
